Small business owner
A product photo looks dull, uneven, or cluttered before it goes into a shop listing.
Clean the background, improve contrast, and make the product easier to inspect without rebuilding the whole image.
Practical image ideas
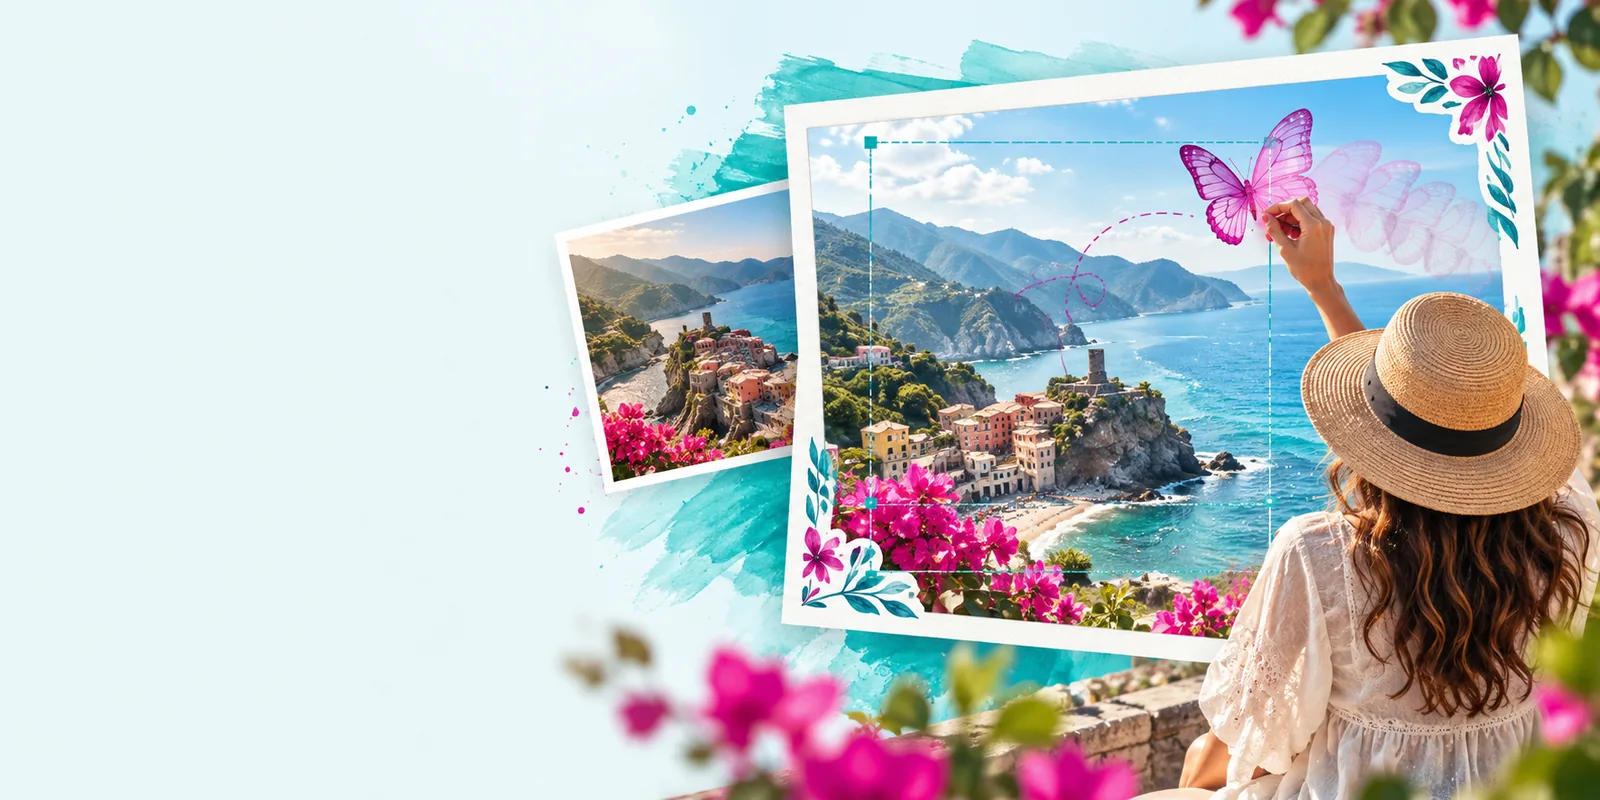
Explore online image editor examples free for everyday image tasks, from cleaning up a product photo to preparing a polished portrait or landscape for sharing.
Use cases
A good online image editor helps when the image is almost right but still needs a focused change. These examples show where a short, clear edit request can remove friction.
A product photo looks dull, uneven, or cluttered before it goes into a shop listing.
Clean the background, improve contrast, and make the product easier to inspect without rebuilding the whole image.
A social post needs a consistent look, but resizing, cropping, and quick adjustments take too long across several images.
Prepare a balanced crop, tune the color, and create a more coherent visual set for publishing.
A portrait or travel shot has distracting details that pull attention away from the subject.
Refine the composition and atmosphere while keeping the main subject believable and recognizable.
A presentation image needs to be clearer, more legible, and better matched to the surrounding slide design.
Improve visibility, adjust framing, and create a cleaner visual aid without complex desktop software.
Prompt to result
The following online image editor examples pair a specific instruction with a useful visual direction. Copy the prompt, then change the subject, mood, or finish to match your image.
Create a bright botanical composition with fresh green leaves, soft natural light, and a clean editorial background.
 Nature
result
Nature
result
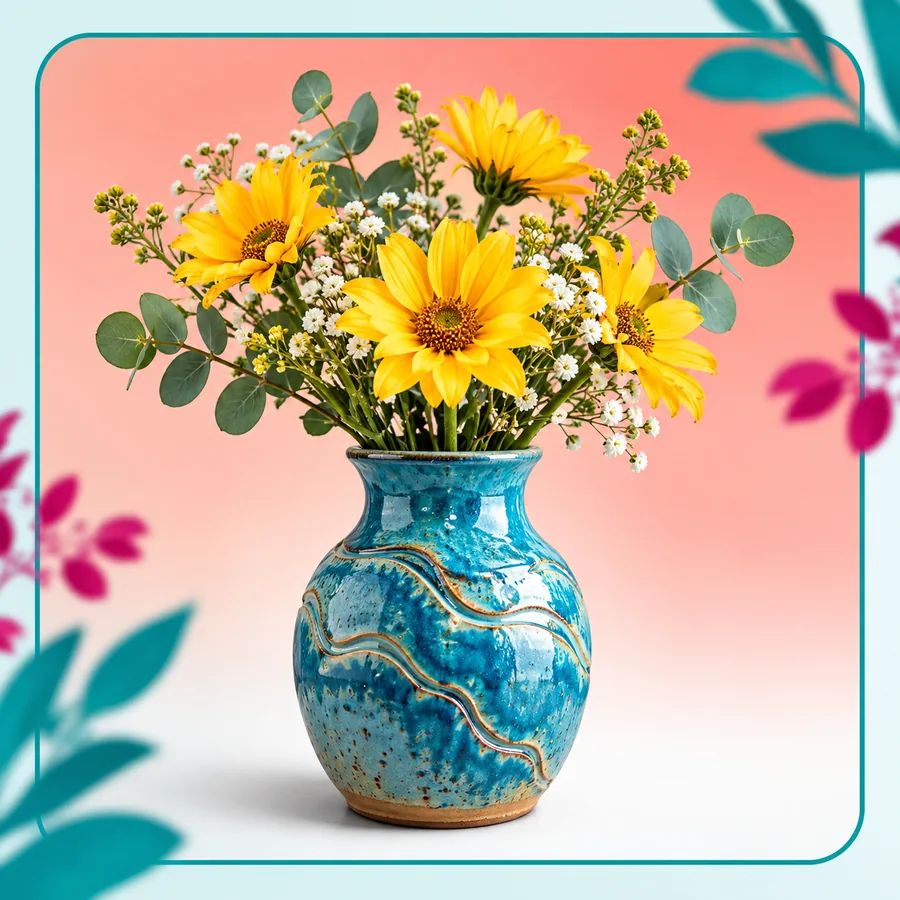
Arrange this flat lay with balanced spacing, warm daylight, crisp details, and a simple neutral surface.
 Commerce
result
Commerce
result
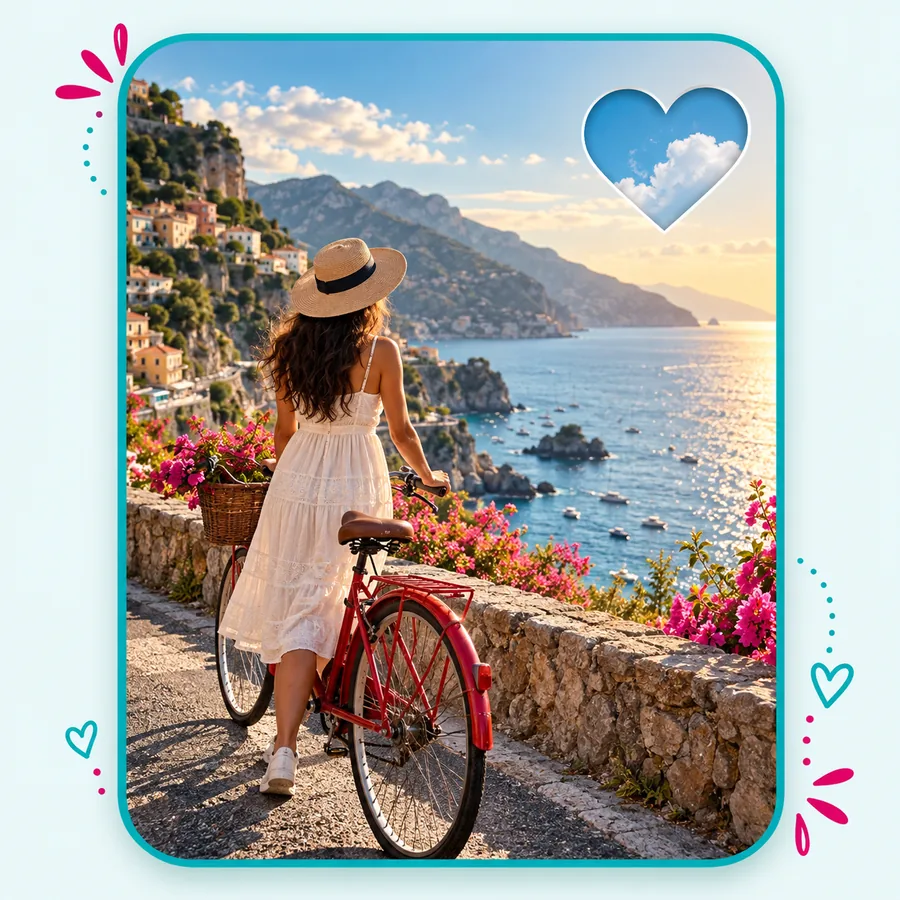
Enhance this landscape with clear depth, natural color, gentle atmospheric contrast, and no distracting objects.
 Travel
result
Travel
result
Retouch this portrait with soft flattering light, natural skin texture, and a quieter background that keeps focus on the subject.
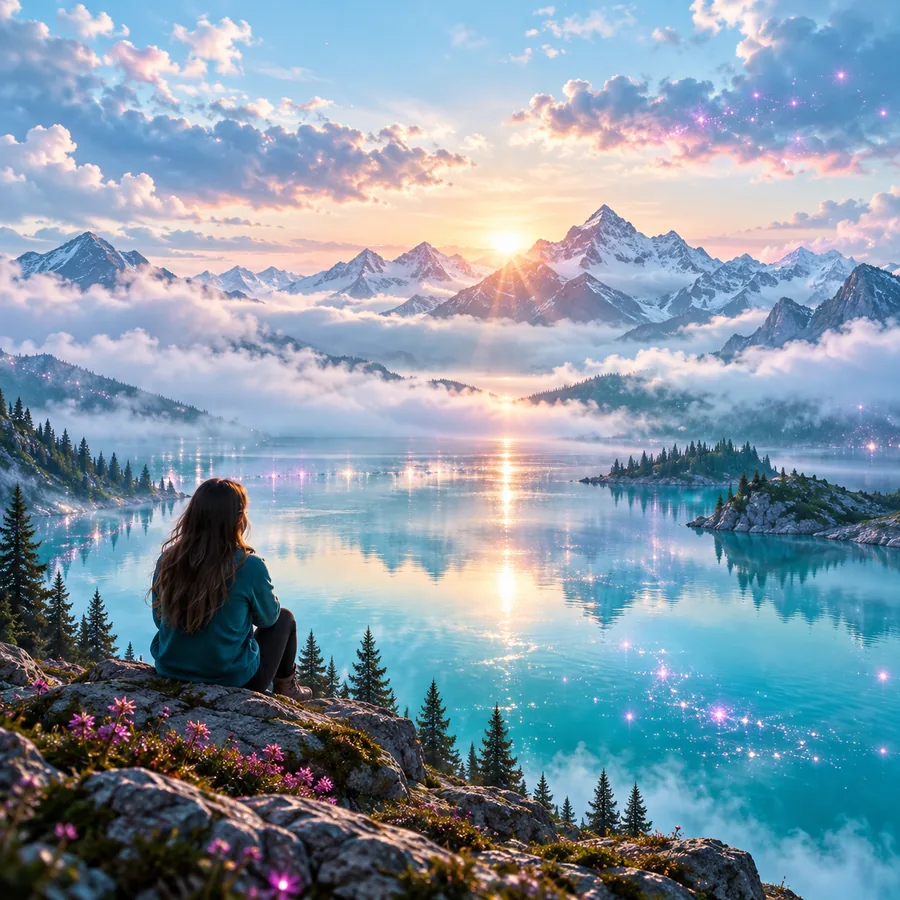 Portrait
result
Portrait
result
Keep the subject and desired change specific; add mood, lighting, and restraint only when they matter to the result.
Repeatable process
Each workflow follows the same practical pattern: identify the visible problem, describe the intended result, and review the image before sharing it. The process stays useful for quick edits and more considered visual work.
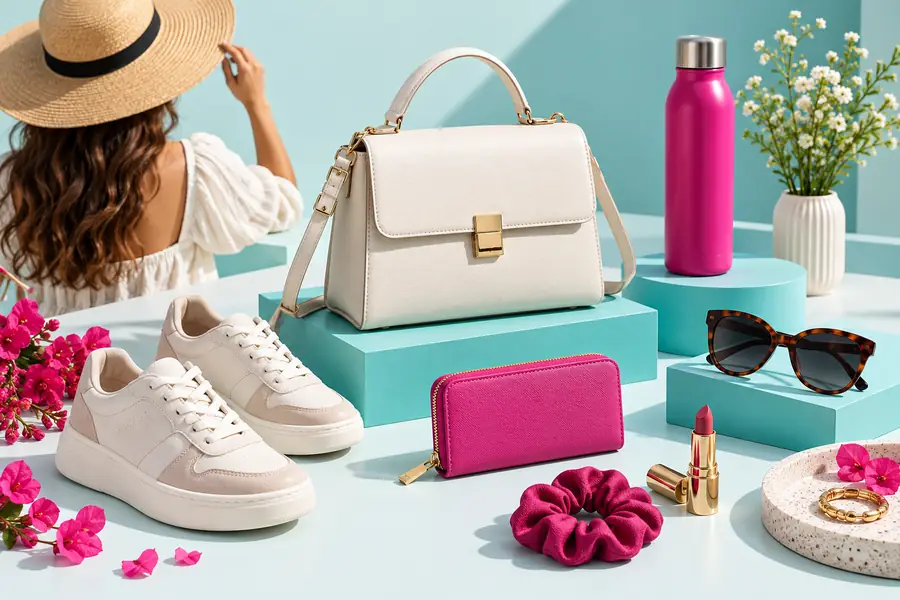
Use this workflow when the item is clear but the presentation feels unfinished. Ask for a simpler background, more even lighting, and enough contrast to show the product without making colors look artificial.
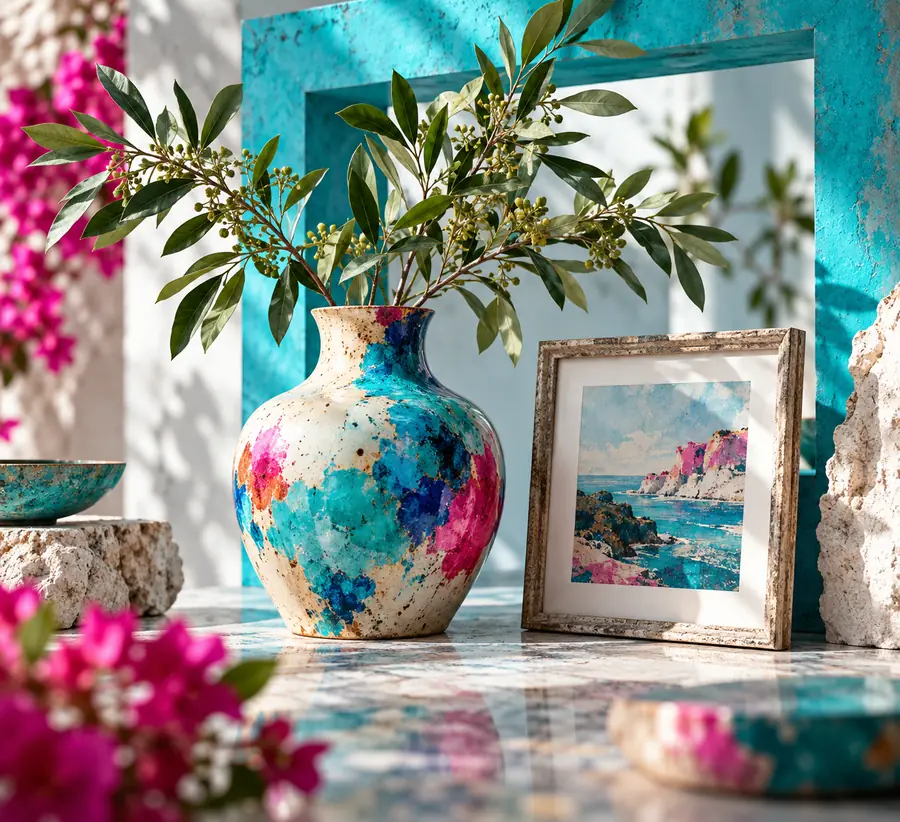
A portrait often needs a lighter touch than a full transformation. Request a restrained adjustment that preserves identity, natural texture, and the expression while reducing visual distractions around the subject.
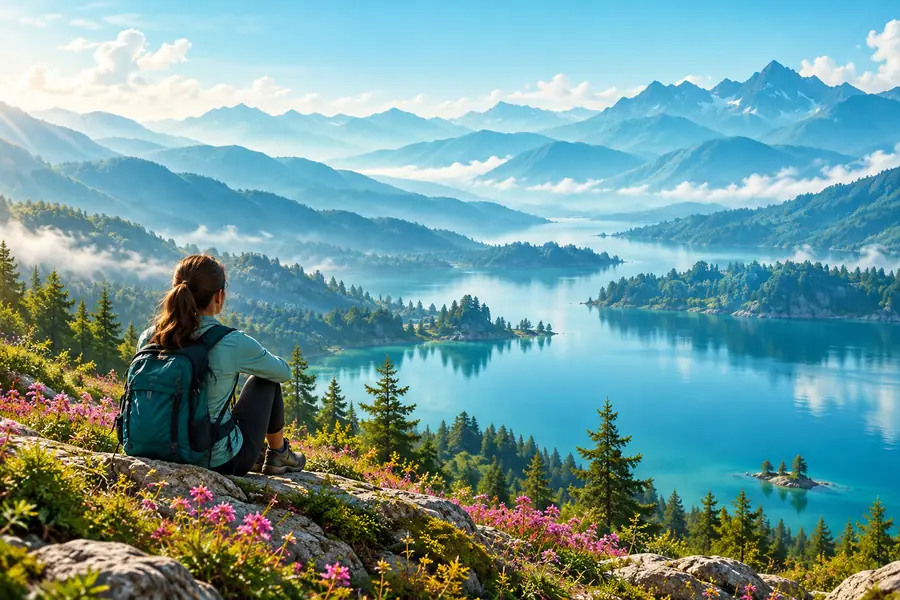
Landscape edits work best when they improve hierarchy rather than exaggerate every detail. Ask for balanced color, clearer depth, and removal of only the objects that interrupt the intended view.
Before and after
A polished result still needs a responsible review. Compare the source and edited versions side by side so you can catch changes that affect identity, context, labeling, or permission.
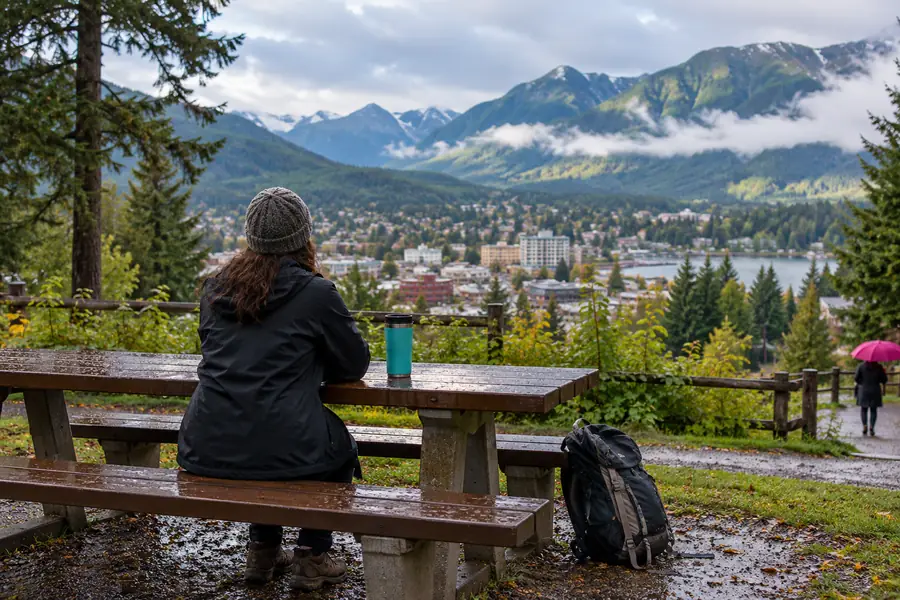
Before
Use edits to improve presentation, not to misrepresent a person, product, place, or event.
After
Make an edit
Bring one of these online image editor examples into your own project. Describe the subject, name the change you want, and review the result against the original before you publish or share it.
Questions answered
You can use one for practical changes such as improving a product photo, refining a portrait, balancing a landscape, or preparing an image for a presentation. The best result usually comes from describing one clear problem and the visual outcome you want.
They are starting points for planning an edit rather than guarantees of a particular result. Adapt the wording to your own subject, preferred style, and the details that must remain unchanged.
Name the subject first, then describe the change, the desired mood or lighting, and any details to preserve. For example, ask for a quieter background while explicitly keeping the person’s natural expression and skin texture.
Yes, the workflow can be adapted to both, but the priorities differ. Product edits should protect shape, labels, and color accuracy, while portrait edits should place more emphasis on identity and natural appearance.
Compare the edited image with the original and inspect faces, hands, text, logos, edges, and background details. Also confirm that you have permission to use the source image and that the final presentation does not create a misleading impression.